
So I spent some time to rebuild the out-of-box demo for the Genesys Zynq UltraScale MPSoC+ board. Not everything worked for me right away, so I made this post to include all the things I did to get it to work.:
My system:
- Windows 10
- Windows Subsystem for Linux 2
- Ubuntu 18.04 (<= Ubuntu 20 does not work unless you make a lot of changes)
References:
- Schematics
- Official Documentation from Digilent
- Official Getting Started Guide on Digilent website
- Genesys Zynq UltraScale MPSoC+ Reference Manual
- Purchase Link
- PetaLinux Tools Documentation
- Processing System 7 v5.,5 Documentation
- Zynq UltraScale+ MPSoC Processing System Documentation
- Cool Example to play Doom on this board
These are comments generated after following this guide:
Run Out of Box Demo
I followed the instructions on the page linked above and everything worked and the instructions were very easy to follow. Some things to keep in mind:
- I used the wrong serial port and had to deal with some issues killing that Putty Window.
- Looks like sshd is not automatically configured/turned on for the PetaLinux distribution.
- The default configuration mounts to root filesystem in RAM – aka – initramfs. So if you make any changes rebooting will not work.
After connecting I noted my MAC address by running ‘ip a’ as the tutorial mentioned and set up my router to always give it the same ip address.
I then played around with setting some LEDs on and off by running the command:
for i in {0..4}; do uio-test -t led -i $i -v 1; done
Part 1 – Rebuilding the Out of Box Hardware Design
Step 1 – Create a directory for work
I used WSL 2 running Ubuntu 18, and I created a directory for my work on my regular windows/ntfs partition:
cd /mnt/c/work
mkdir -p Genesys/Rebuild
cd Genesys/Rebuild
Step 2 – Clone Hardware Design
Then I cloned the source code for the hardware design – making sure to get all submodules. Well, there is only one submodule, but that’s fine.
git clone --recurse git@github.com:Digilent/Genesys-ZU-OOB-hw.git
(Browse the repository here: https://github.com/Digilent/Genesys-ZU-OOB-hw)
Here are some notes about git and sub-modules:
You can clone the code this way to get all sub-modules:
git clone --recurse <git-url>
but if you have already cloned the repository and want to get the submodules without re-cloning:
git submodule update --init --recursive
You can verify this by looking at the .gitmodules files in the root of the repository, it should look like this:
cat .gitmodules

[submodule "repo/vivado-library"]
    path = repo/vivado-library
    url = https://github.com/Digilent/vivado-library.git
    branch = master
And you can also verify the code was downloaded with:
ls -l repo/vivado-library
Total space used after a fresh cloine with the sub-module: 148 Mebabytes
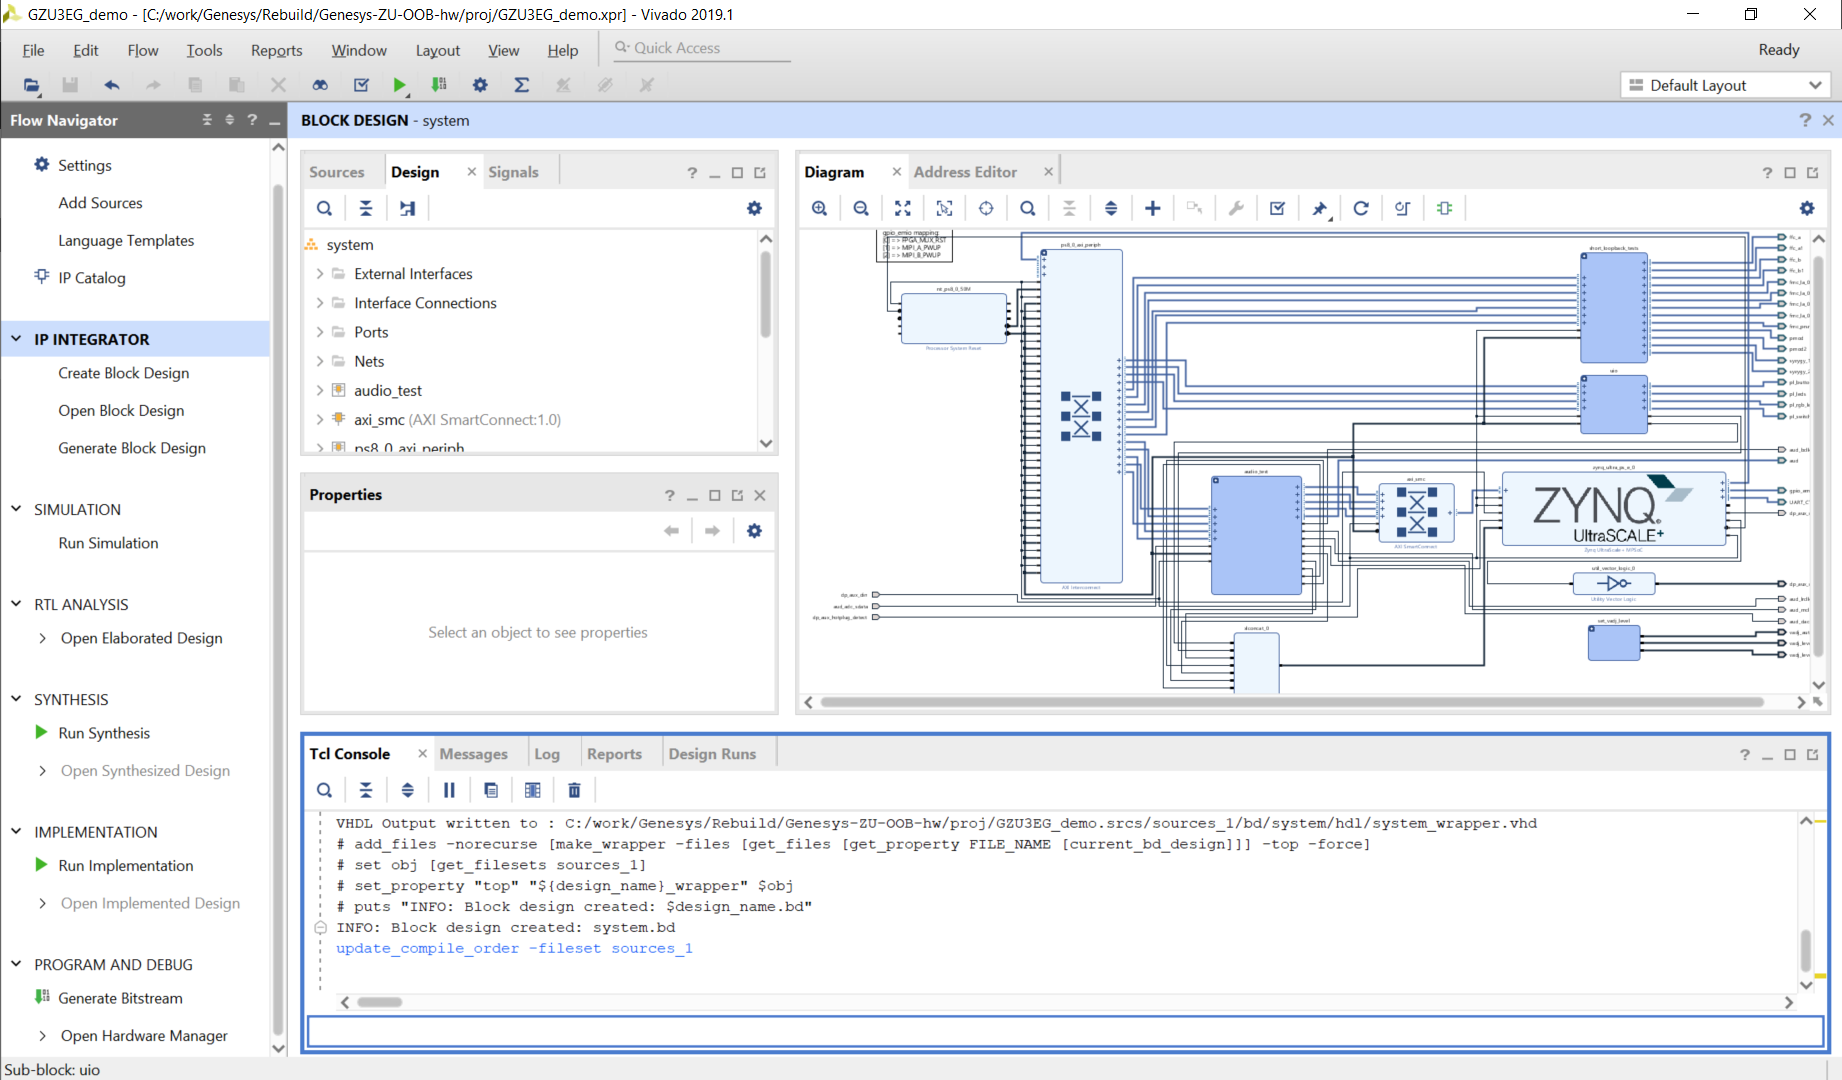
Step 3 – Start Vivado
In the Tcl Console (pronounced ‘tickle’) go to the directory where the Genesys-ZU-OOB-hw git repository has been cloned to:
cd C:/work/Genesys/Rebuild/Genesys-ZU-OOB-hw/
(Vivado has some great auto-complete, just press tab)
Step 4 – Re-create Out-of-Box Project
Then source the create_project.tcl file.
source ./proj/create_project.tcl
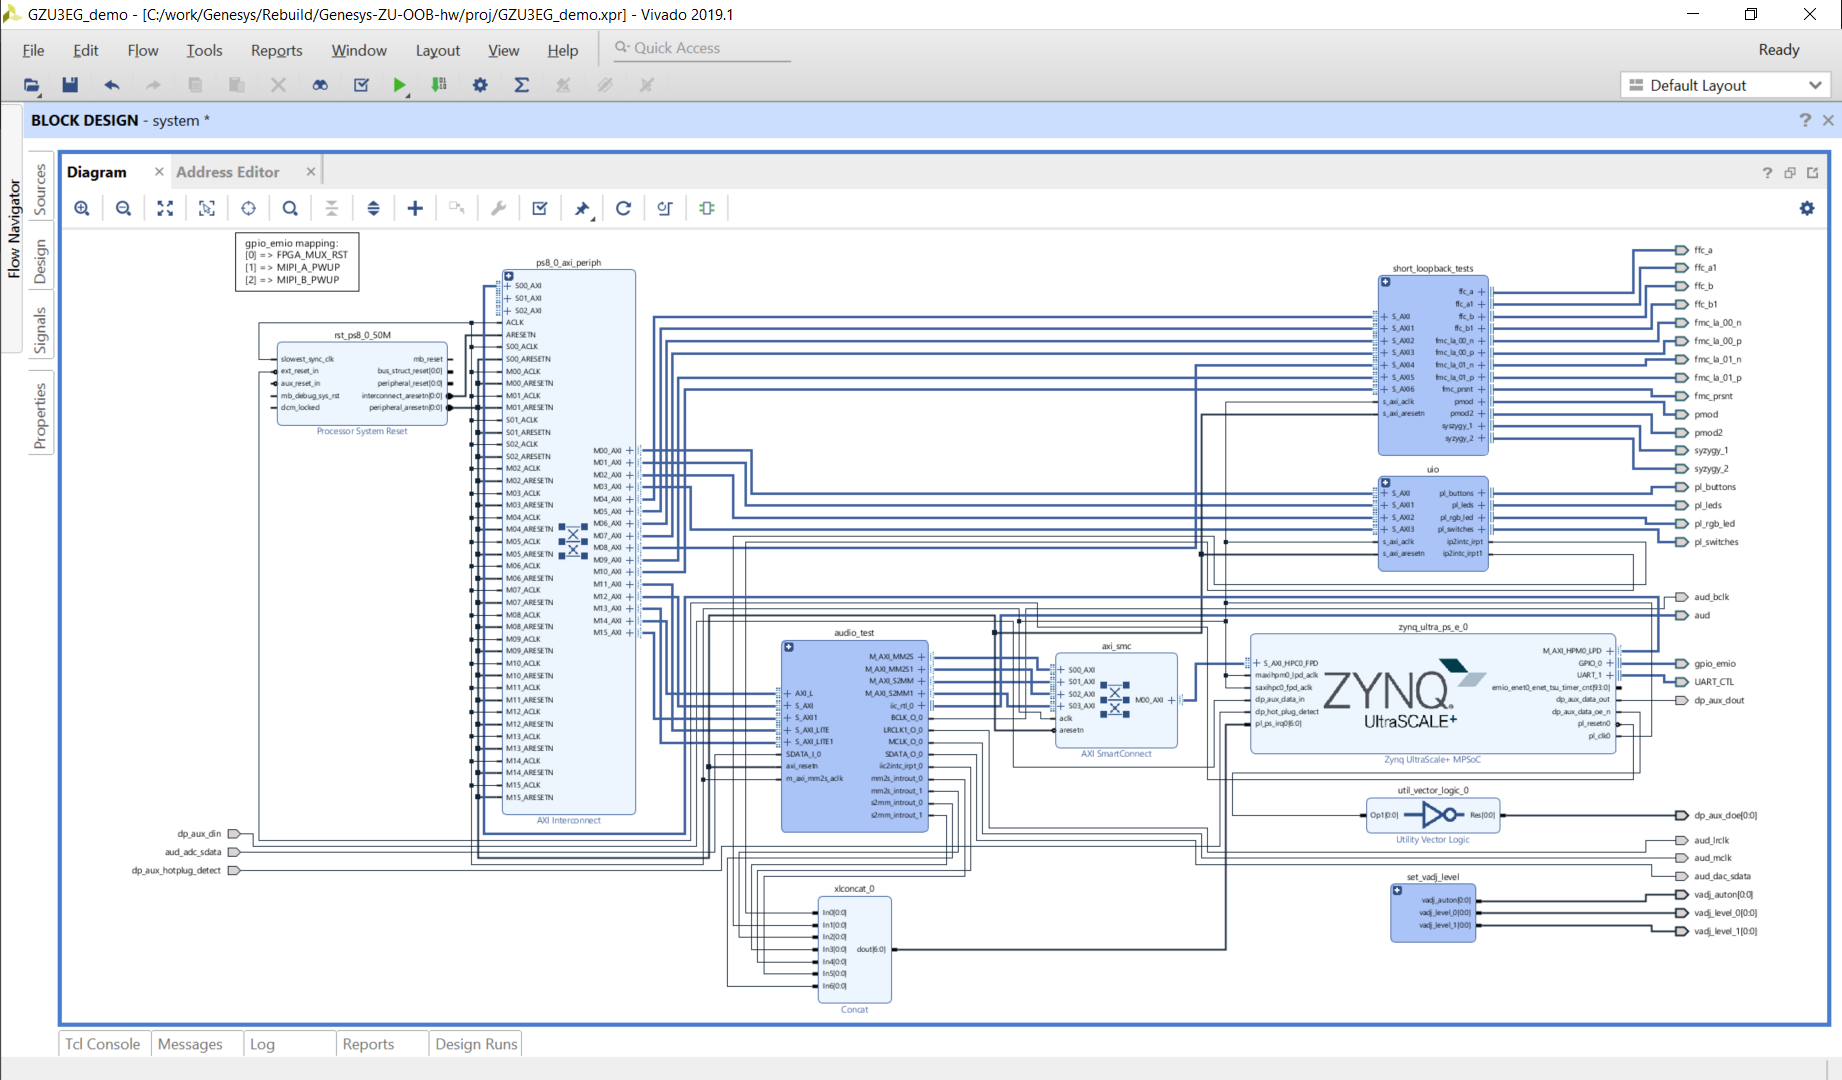
Step 5 – Build the Vivado Project
Just click ‘Generate Bitstream’
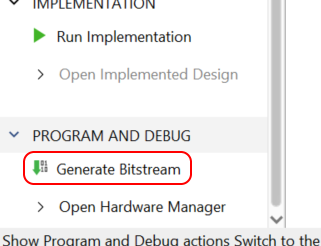
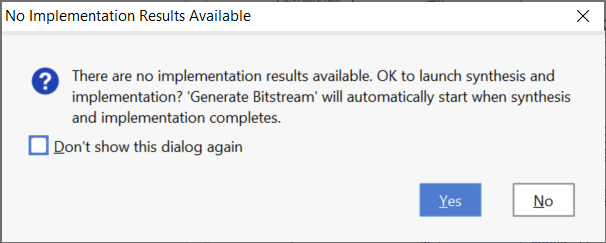
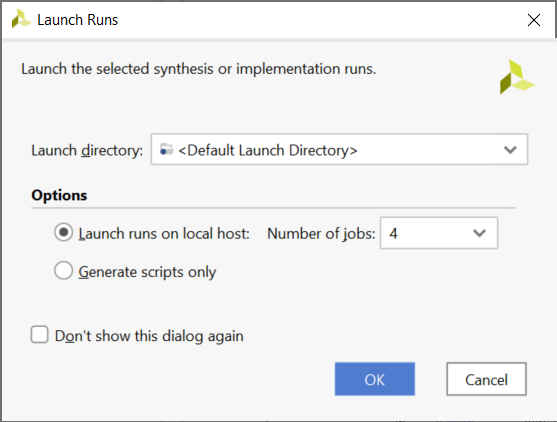
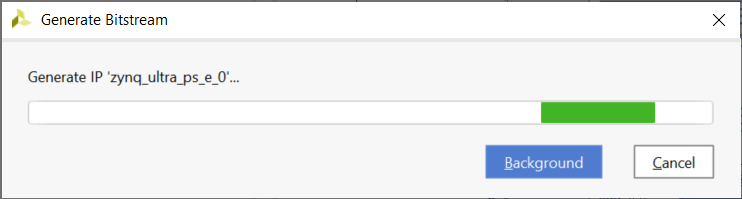
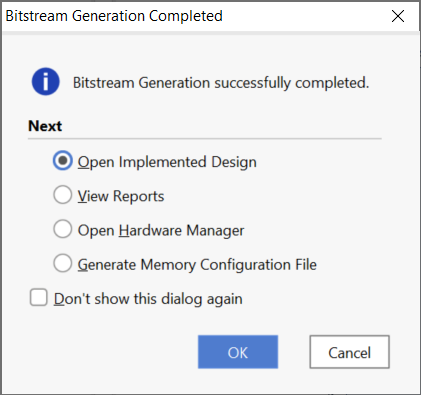
Took around 15 minutes on my computer, relatively modern desktop – around 6 years old.
Step 6 – Export Hardware
Click File->Export->Export Hardware
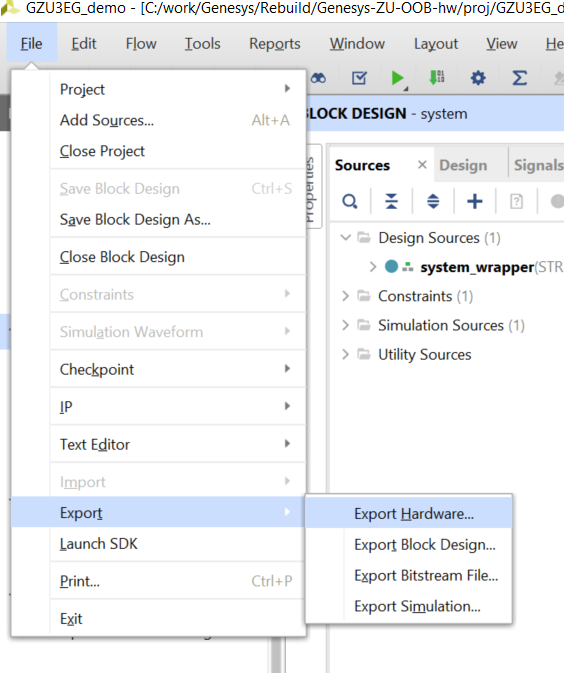
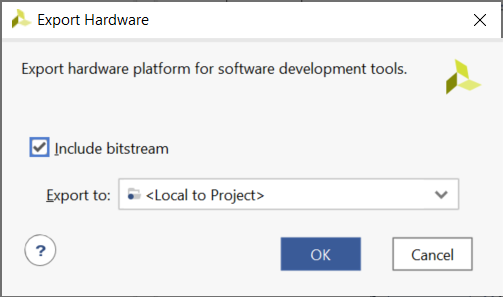
Make sure you click ‘include bitstream’
The HDF file gets placed in the following directory:
C:\work\Genesys\Rebuild\Genesys-ZU-OOB-hw\proj\GZU3EG_demo.sdk
Part 2 – Building the PetaLinux Image
Caveats:
- Your distribution of Linux is important
- WSL (Windows Subsystem for Linux) is good, but not perfect, so be careful using it.
I followed the instructions using WSL 2 using Ubuntu 18.04
Step 1 – Install PetaLinux for your Distribution
- See Xilinx UG1144 – PetaLinux Tools Documentation
- See Xilinx ug976 – PetaLinux SDK User Guide
- Download petalinux-v2019.1-final-install.run (7.2G)
- Random PetaLinux Tutorial
I used Ubuntu 18.04 LTS running inside WSL 2 with the following updates:
sudo apt-get install -y gcc git make net-tools libncurses5-dev tftpd zlib1g-dev libssl-dev flex bison libselinux1 gnupg wget diffstat chrpath socat xterm autoconf libtool tar unzip texinfo zlib1g-dev gcc-multilib build-essential libsdl1.2-dev libglib2.0-dev screen pax gzip python
- To install zlib1g:i386
- sudo dpkg –add-architecture i386
- sudo apt-get update
- sudo apt-get install zlib1g:i386
Then make sure you copy the petalinux-v2019.1-final-install.run file to a non-NTFS mount:
sudo mkdir -p /opt/pkg/petalinux/2019.1
sudo chown john:john /opt/pkg/petalinux/2019.1
bash ./petalinux-v2019.1-final-install.run /opt/pkg/petalinux/2019.1
Step 2 – Source the Petalinux settings.sh file
source /opt/pkg/petalinux/2019.1/settings.sh
echo ${PETALINUX}
Step 3 – Clone the Repository
cd
mkdir -p Genesys/Rebuild
cd Genesys/Rebuild
git clone git@github.com:Digilent/Genesys-ZU-OOB-os.git
cd Genesys-ZU-OOB-os
Step 4 – Configure PetaLinux
petalinux-config --get-hw-description= /mnt/c/work/Genesys/Rebuild/Genesys-ZU-OOB-hw/proj/GZU3EG_demo.sdk/

- Check TFTP destination
- Image Packaging Configuration —>
- Check “Copy final images to tftpboot”
- Set tftpboot directory to /mnt/c/TFTP-Root/tftpboot/zuca-3eg
- Image Packaging Configuration —>
Click Exit and let it run
Now configure the rootfs
petalinux-config -c rootfs
- Enable the ssh server
- Filesystem Packages —>
- console —>
- network —>
- dropbear —>
- Enable dropbear
- Admin —>
- sudo —>
- Enable sudo
- sudo —>
- dropbear —>
- network —>
- console —>
- Filesystem Packages —>
Create a Regular User:
nano project-spec/meta-plnx-generated/recipes-core/images/petalinux-user-image.bb
EXTRA_USERS_PARAMS = "usermod -P password root; useradd -P password john;"
Step 5 – Build the Image
Just run petalinux-build
time petalinux-build
Took around 20 minutes on my Desktop with (24GB Ram and an Intel i7-4930K)
Step 6 – Package
petalinux-package --boot --force --fsbl images/linux/zynqmp_fsbl.elf --fpga images/linux/system.bit --u-boot
Step 7 – Copy Files to SD Card
Copy the BOOT.BIN and image.ub to the root of the SD Card – make sure the SD Card is FAT32 formatted.
Step 8 – Ssh to Genesys Board
I looked up and found the ip address of my board in my local router and it is ‘192.168.1.203’, I was able to ssh in as user john with password password.
Now you can play around with the commands I mentioned at the start of this article.
But what about the SYZYGY connector and 10 gigabit ethernet? If I just plug in it, how will I know if it is plugged in correctly and getting appropriate data?
I don’t know. Perhaps I am better off spending my time proving out how you can use LabVIEW FPGA along with the IP Export utility to show how you can parse FIX messages using an FPGA, and without Verilog/VHDL…