Related Source Repository:
https://github.com/fpganow/vivado_scm
Xilinx Vivado does not come with built-in source control. If you are a Visual Studio user, or a IntelliJ IDEA or eclipse user, you may be familiar with using some sort of IDE-related source code control.
Vivado has a different paradigm for source control:
- Export commands to re-generate the project as a tcl script.
- Add tcl and all related files to source-control
After I tried following a lot of guides that I found on the internet for using source control, I was only successful after I did the following:
- Create a branch new project in folder A
- Create a folder alongside folder A called src and add all files in to that directory, including the block design.
- Write the project tcl – with no options selected – via File->Project->Write Project Tcl
- Add all source files referenced in the resulting tcl to source control.
- Make sure all files are outside of your original project folder
- I have written a crude python script to read the tcl file and to add the source files to the current git repository
Creating a Vivado project from scratch and adding it to source control
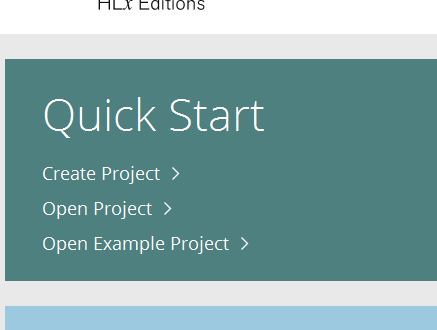
[1] Start Vivado and click on “Create Project”
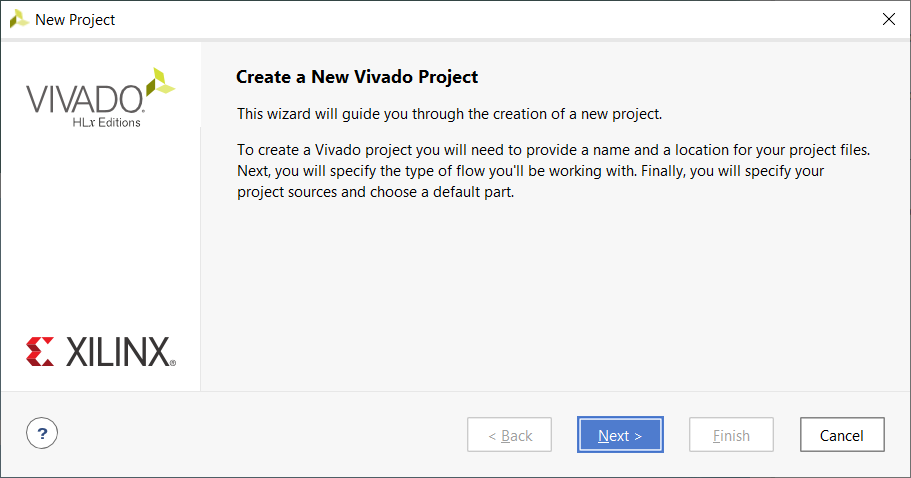
[2] Click next
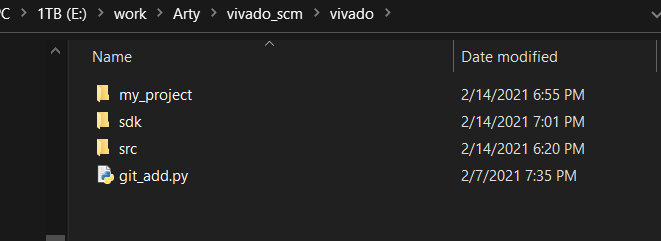
[3] Name the project whatever you like, keep it in the vivado sub-directory as the picture below shows

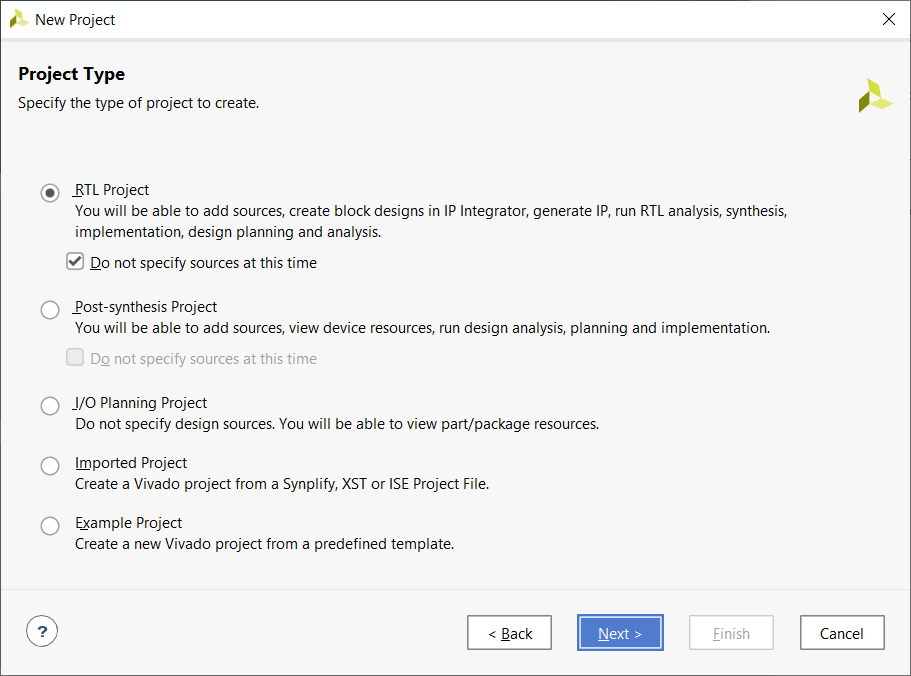
[4] RTL Project, no need to specify sources now.
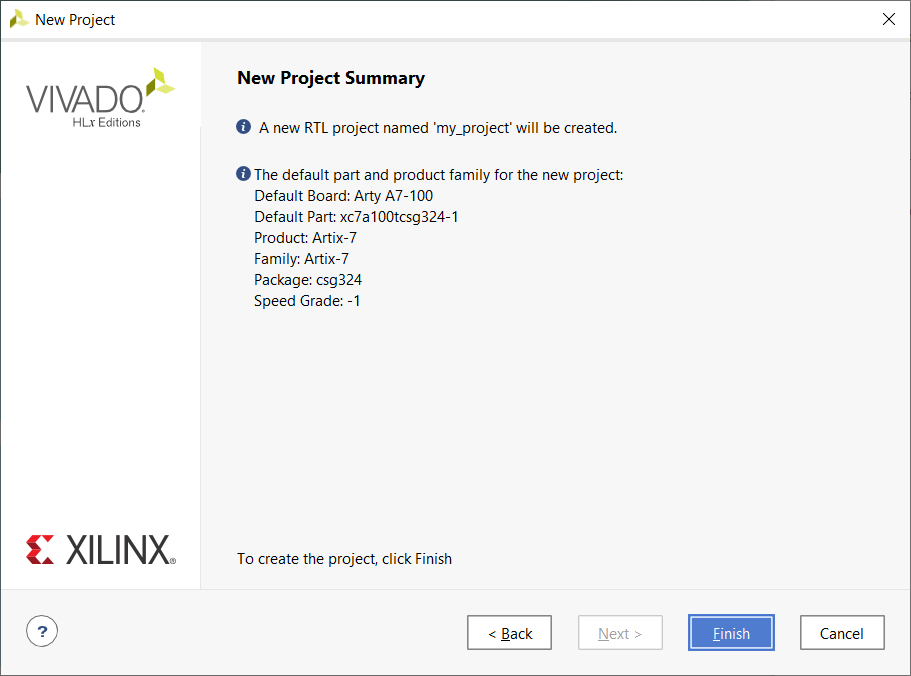
[5] – Pick your board, I am using the Arty Artix-7 100T board (around 250 USD)
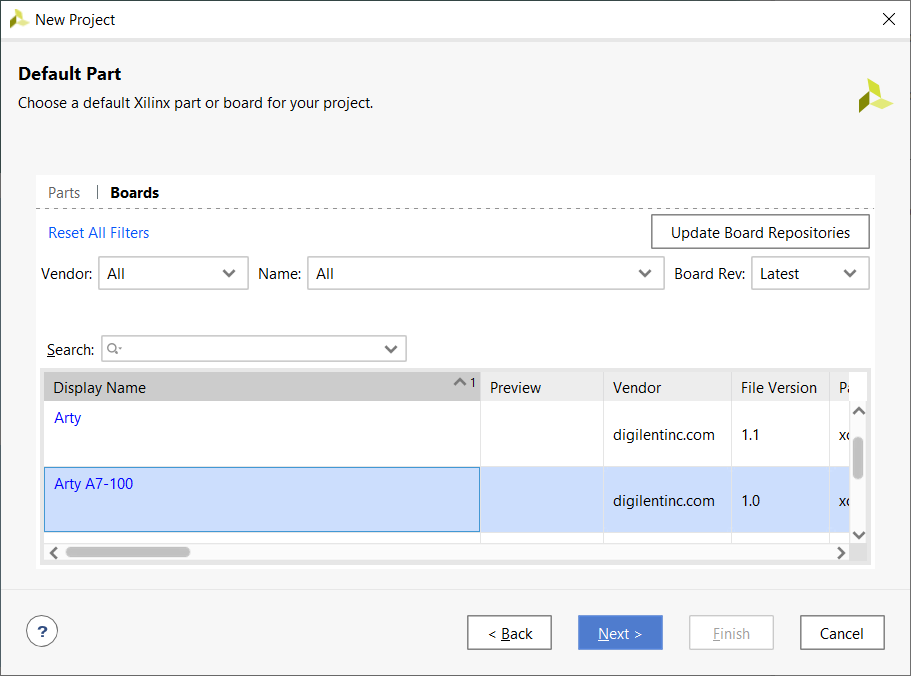
[6] – Just click Finish
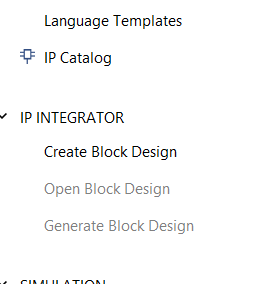
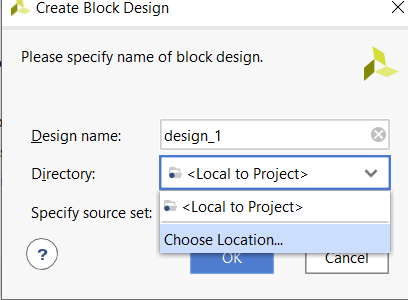
[7] Create a Block Design
[8] Note the Directory, click on it
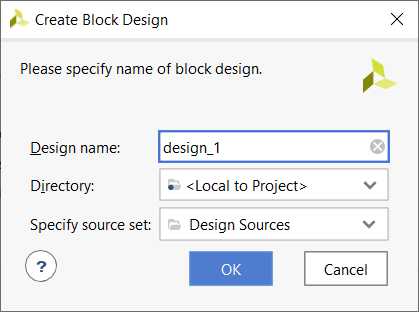
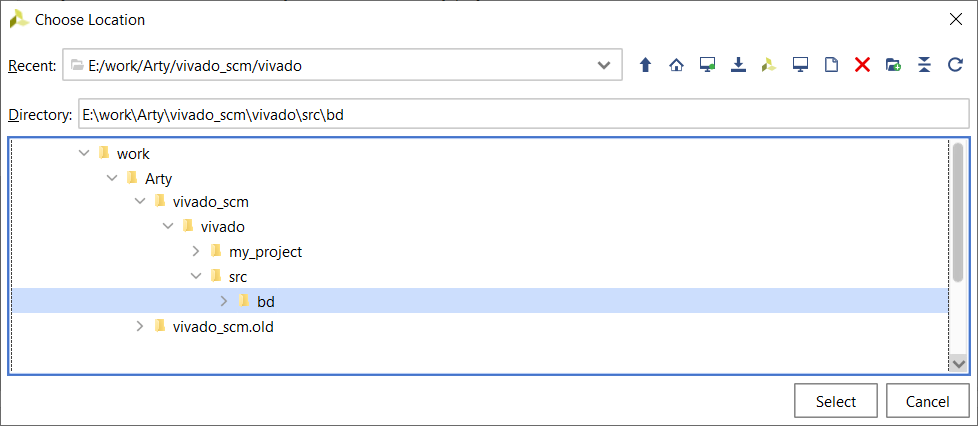
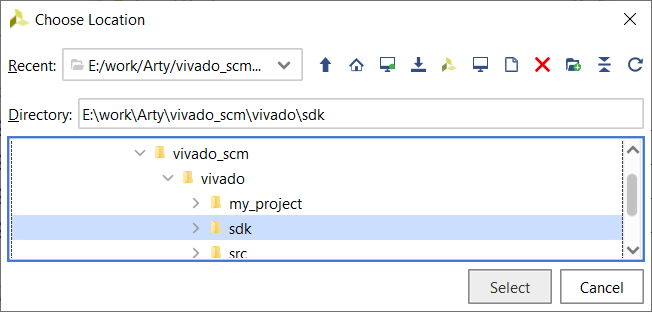
[9] Choose Location
[10] – Pick the bd directory which is not beneath the directory where the project was created, this will prevent issues from happening later down the line. Do this for all other source files that you create, including constraints and test benches.
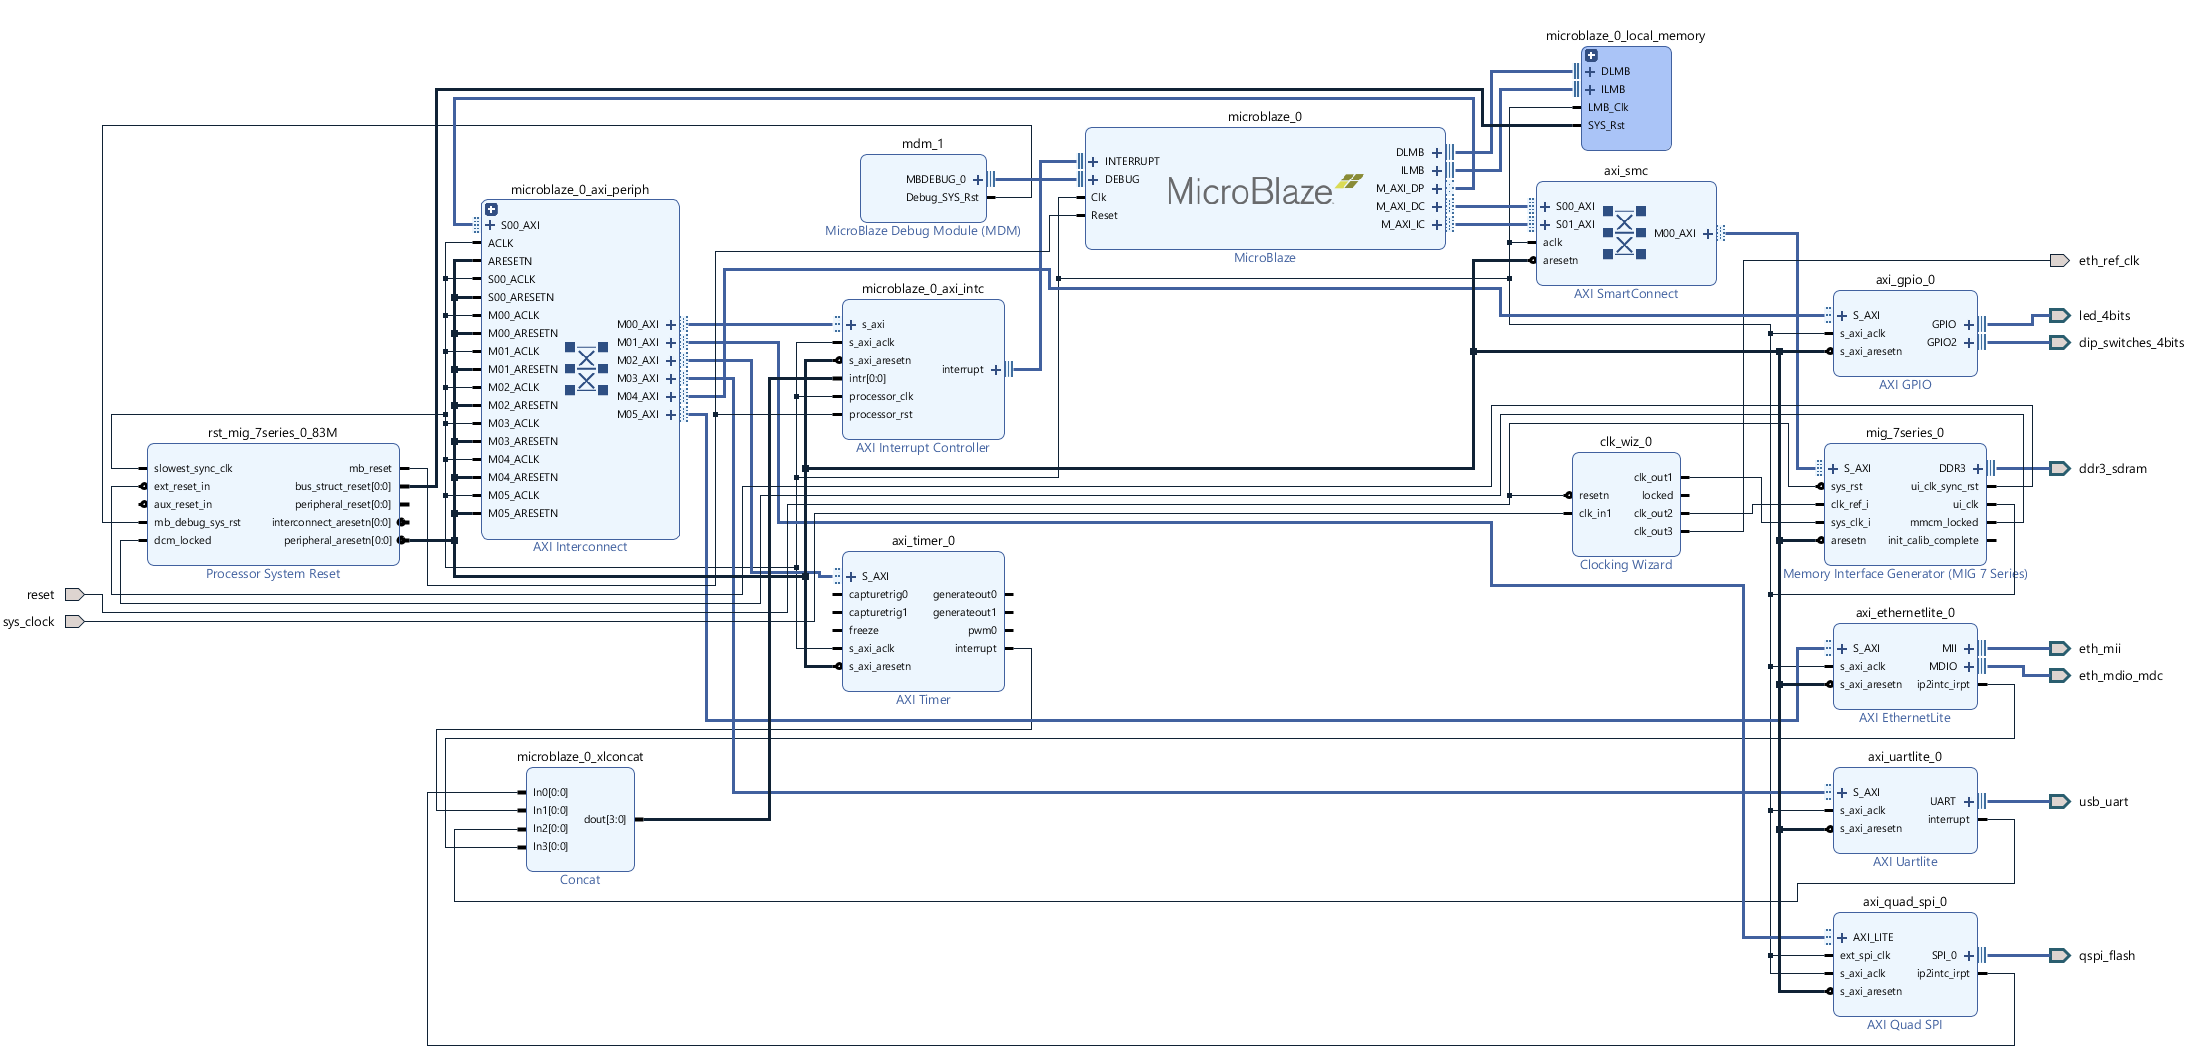
[11] I left the details out for creating the block design, but here is what my final block design looks like. I added the following components (in addition to the MicroBlaze and Quad SPI):
- AXI Timer
- LEDs
- Switches
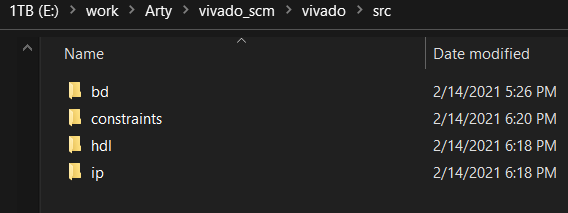
[12] – I use the following directory structure – the ip folder is for importing external IP generated by the NI FPGA IP Export Utility (in the form of a vhdl wrapper and a design checkpoint .dcp file)
[13] – Export the hardware, but this time I will pick a custom location.
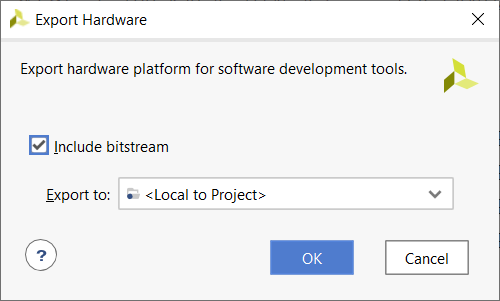
[14] I created a directory named sdk for this one. I also skip adding the SDK to source control, I will learn that at some other time. However, like before you can add a source file and make sure it exists outside the sdk workspace directory.
[15] More details

[16] – Find the COM port and connect with 9600 baud rate. Notice how sometimes you will get some invalid output at the top. Sometimes it is garbled text. Either way just restart your code.

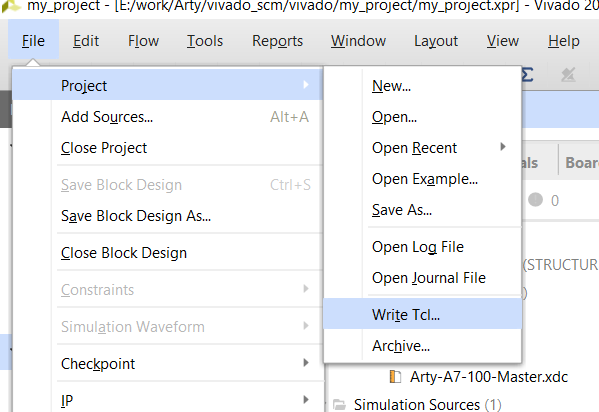
[17] Click File->Project->Write Tcl… to generate the project export script.
[18] I leave all options un-checked and make sure the tcl file is saved in the parent directory of where the project was created.
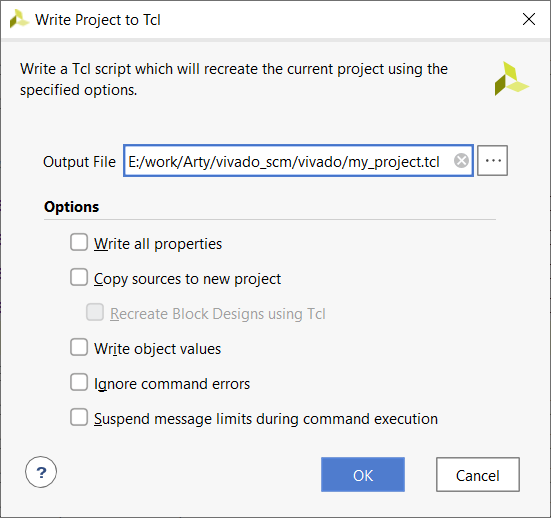
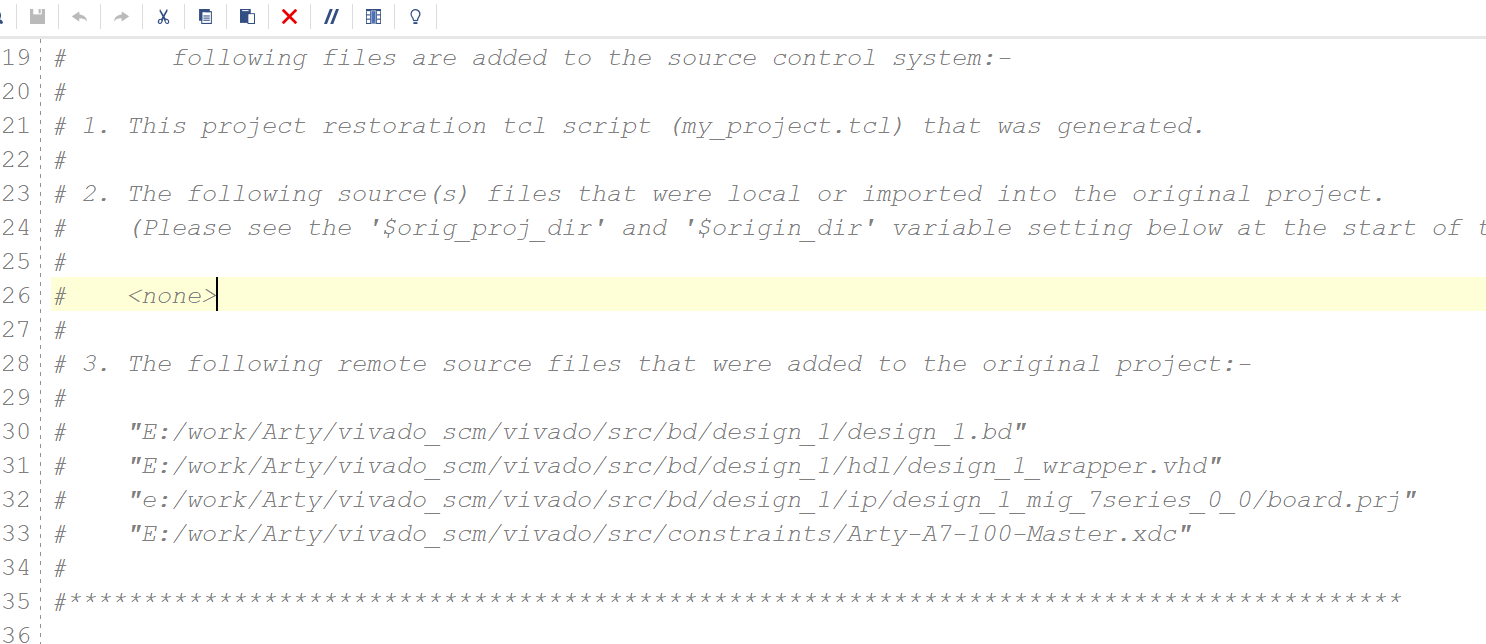
[19] You can open this file to take a look

[20] Notice the three sections, section 3 is for files that you created for the project, section 2 is for files that you import.
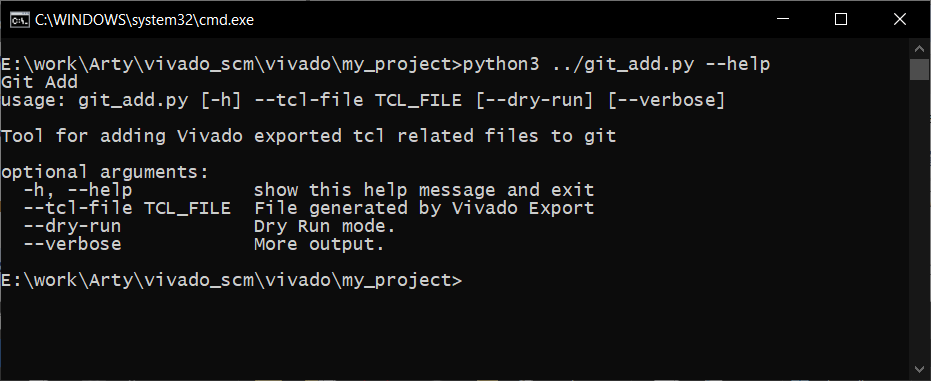
[21] Use the git_add.py Python3 script to parse this tcl file and add only the required files to git.
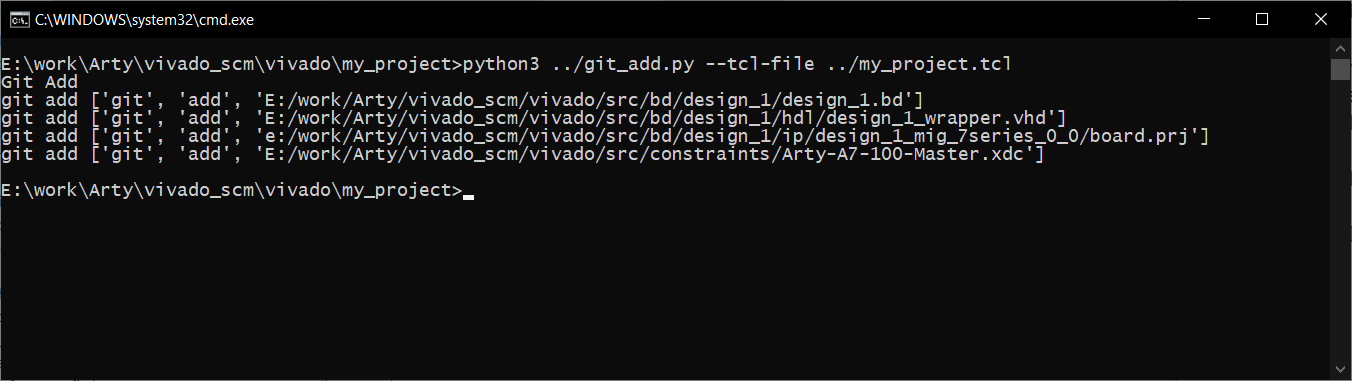
Commit your changes, don’t worry about the other files that are marked as untracked.
How to restore a Vivado Project from source control
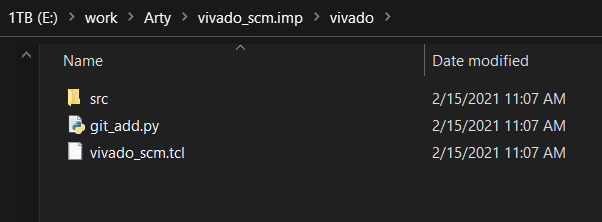
[1] Clone the repository in to a new directory – I chose vivado_scm.imp
[2] The Tcl console in Vivado normally escaped backslashes, you can get around this by wrapping a windows path in curly braces
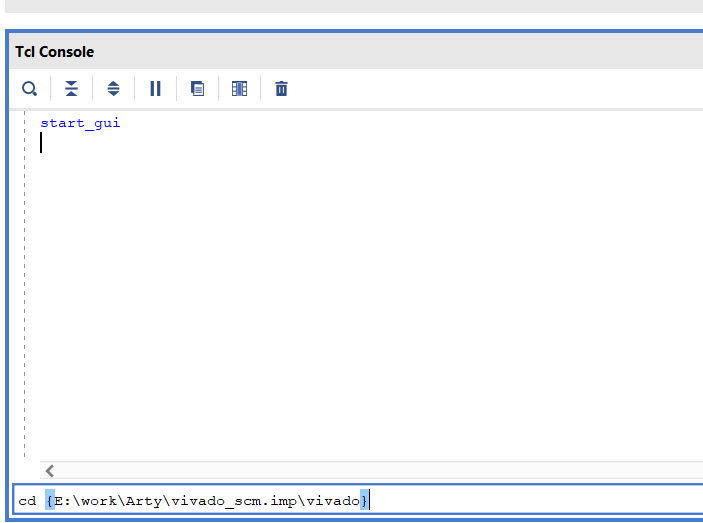
[3] Source tcl script

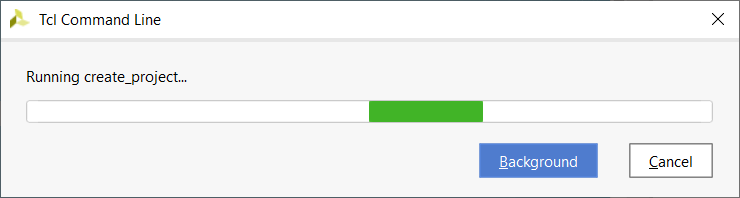
[4] – Wait a few minutes
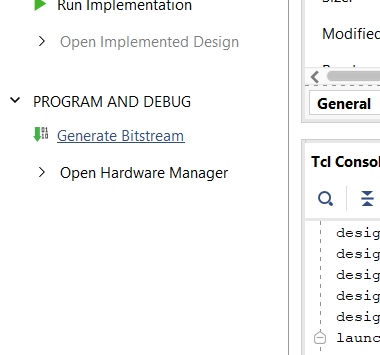
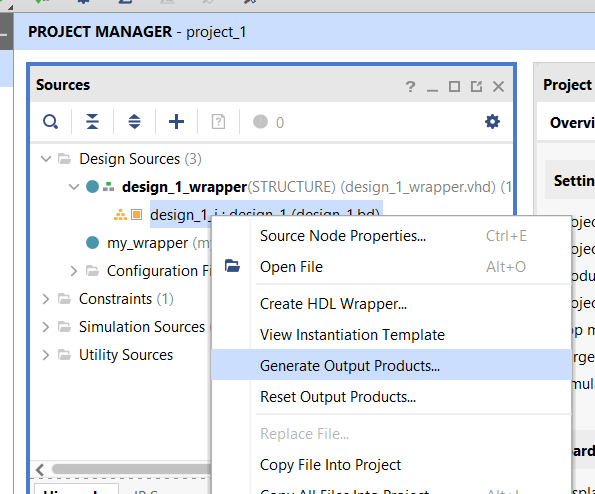
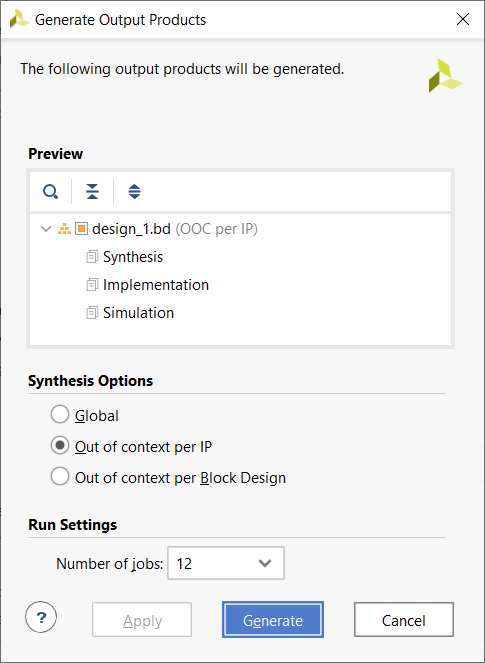
[5] Depending on your project, you will have to Generate Output Products for your block design
[6] Go ahead and click Generate Bitstream, and Vivado will automatically call synthesis, implementation, place & route…etc